分类目录: html5
vue3+ts封装自定义组件库
Post date:
Author: cyy
标签: 自定义组件库
Number of comments: 2 comments
vue3+ts封装自定义组件库
参考自:
https://juejin.cn/post/6844903808787546125#heading-3
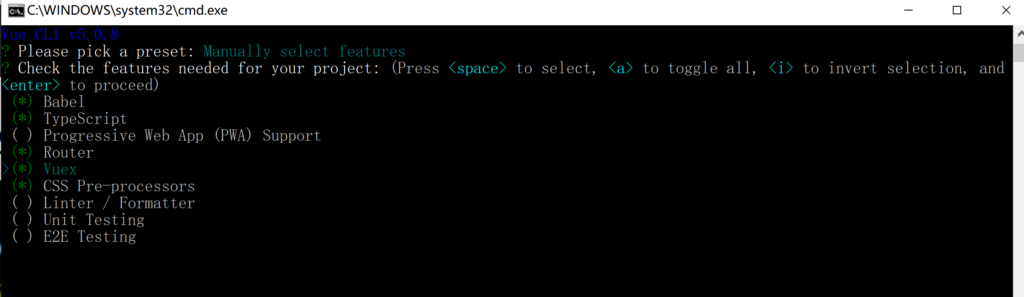
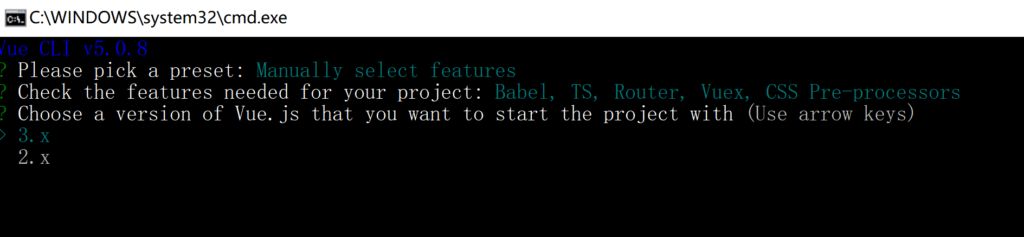
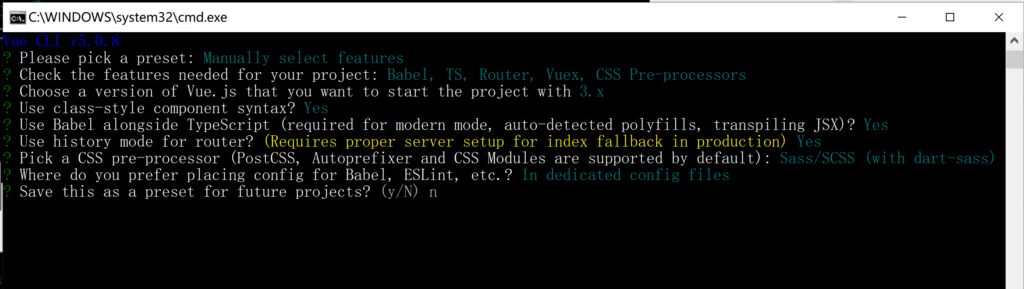
1.创建项目
vue create cyy-ui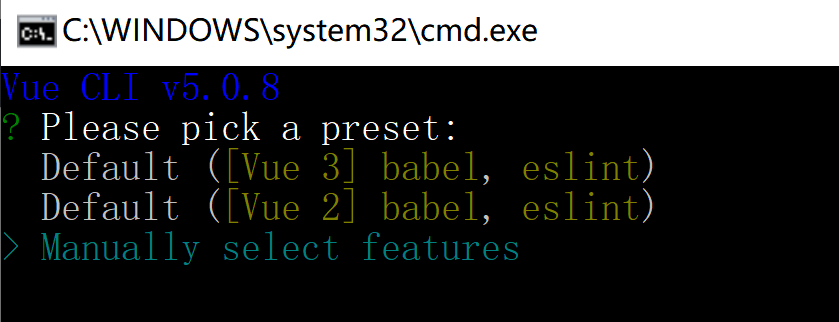
2.修改目录结构
- 把 src 目录名字改成 examples,这是用于展示组件示例的
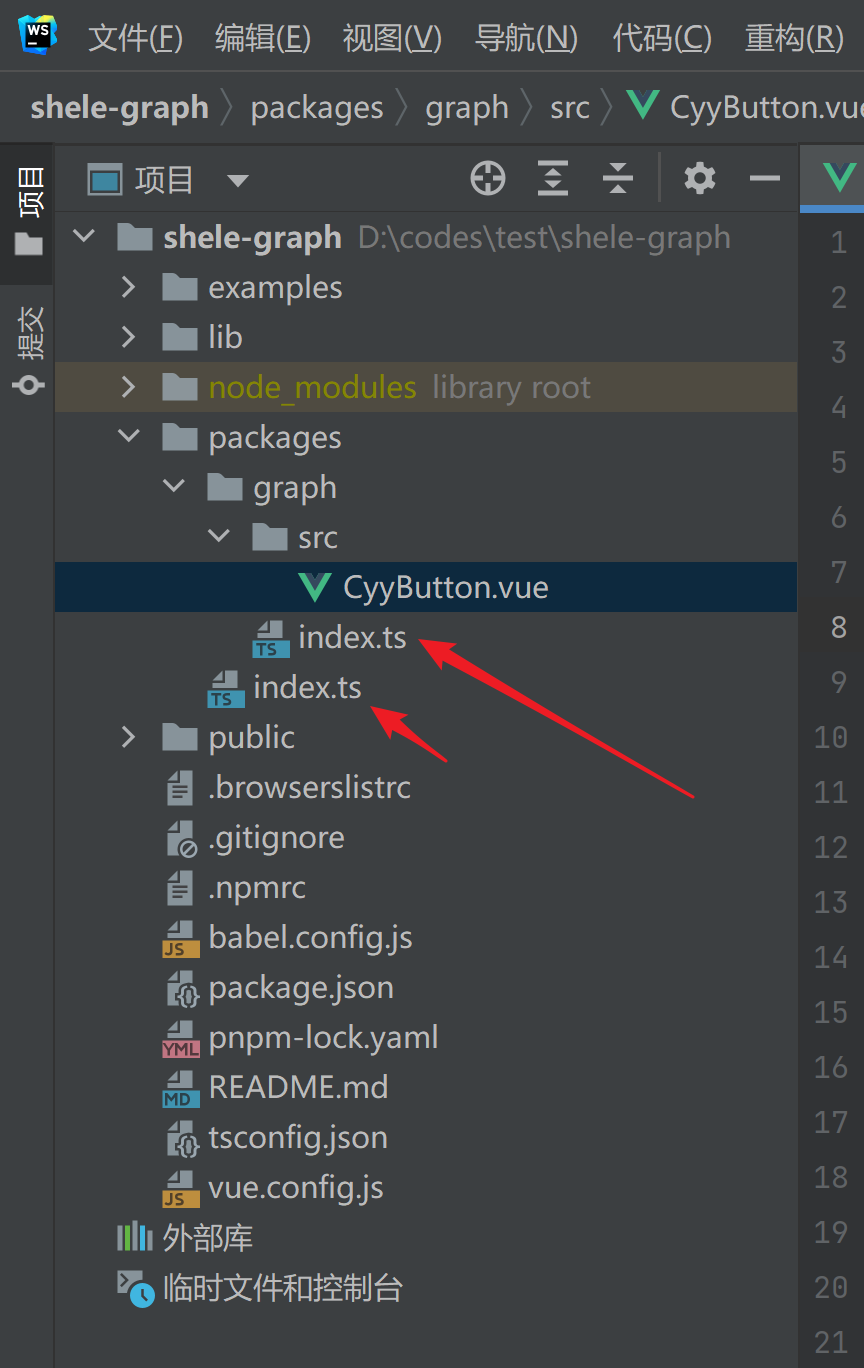
- 在根目录下新建一个 packages 文件夹,这是用来放组件的
3.添加配置文件
在根目录下新建一个 vue.config.js 文件
const {defineConfig} = require('@vue/cli-service')
const path = require('path')
module.exports = defineConfig({
    transpileDependencies: true,
    devServer: {
        host: 'localhost'
    },
// 修改 pages 入口
    pages: {
        index: {
            entry: 'examples/main.ts', // 入口
            template: 'public/index.html', // 模板
            filename: 'index.html' // 输出文件
        }
    },
    // 扩展 webpack 配置
    chainWebpack: config => {
        // @ 默认指向 src 目录,这里要改成 examples
        // 另外也可以新增一个 ~ 指向 packages
        config.resolve.alias
            .set('@', path.resolve('examples'))
            .set('~', path.resolve('packages'))

        // 把 packages 和 examples 加入编译,因为新增的文件默认是不被 webpack 处理的
        config.module
            .rule('js')
            .include.add(/packages/).end()
            .include.add(/examples/).end()
            .use('babel')
            .loader('babel-loader')
            .tap(options => {
                // 修改它的选项...
                return options
            })
    }
})
4.编写组件

CyyButton.vue
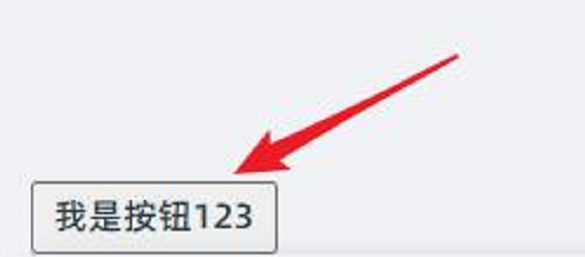
<template>
    <div class="component-view">
        <button @click="onBtnClick">我是按钮123</button>
    </div>
</template>

<script>
import {useStore} from "vuex";
import {onMounted, reactive, toRefs} from "vue";

export default {
    name: "CyyButton",
    components: {},
    setup(props, context) {
        const store = useStore();
        const state = reactive({})

        onMounted(() => {
        })

        const onBtnClick = () => {
            alert('123456')
        }

        return {
            ...toRefs(state),
            onBtnClick
        };
    }
}
</script>

<style lang="scss" scoped>
.component-view {
    width: 100%;
    height: 100%;
    position: relative;
}
</style>
5.暴露组件
让我们在 packages/test 下面新建一个 index.ts 文件,具体代码如下:
// 为组件提供 install 方法,供组件对外按需引入
import CyyButton from './src/CyyButton.vue'

// @ts-ignore
CyyButton.install = Vue => {
    Vue.component(CyyButton.name, CyyButton)
}
export default CyyButton
接着我们在 packages 下面也新建一个 index.ts 文件
import CyyButton from './graph'
// 所有组件列表
const components = [
    CyyButton
]
// 定义 install 方法,接收 Vue 作为参数
// @ts-ignore
const install:any = function (Vue) {
    // 判断是否安装,安装过就不继续往下执行
    if (install.installed) return
    install.installed = true
    // 遍历注册所有组件
    components.map(component => Vue.component(component.name, component))
    // 下面这个写法也可以
    // components.map(component => Vue.use(component))
}

// 检测到 Vue 才执行,毕竟我们是基于 Vue 的
// @ts-ignore
if (typeof window !== 'undefined' && window.Vue) {
    // @ts-ignore
    install(window.Vue)
}

export default {
    install,
    // 所有组件,必须具有 install,才能使用 Vue.use()
    ...components
}
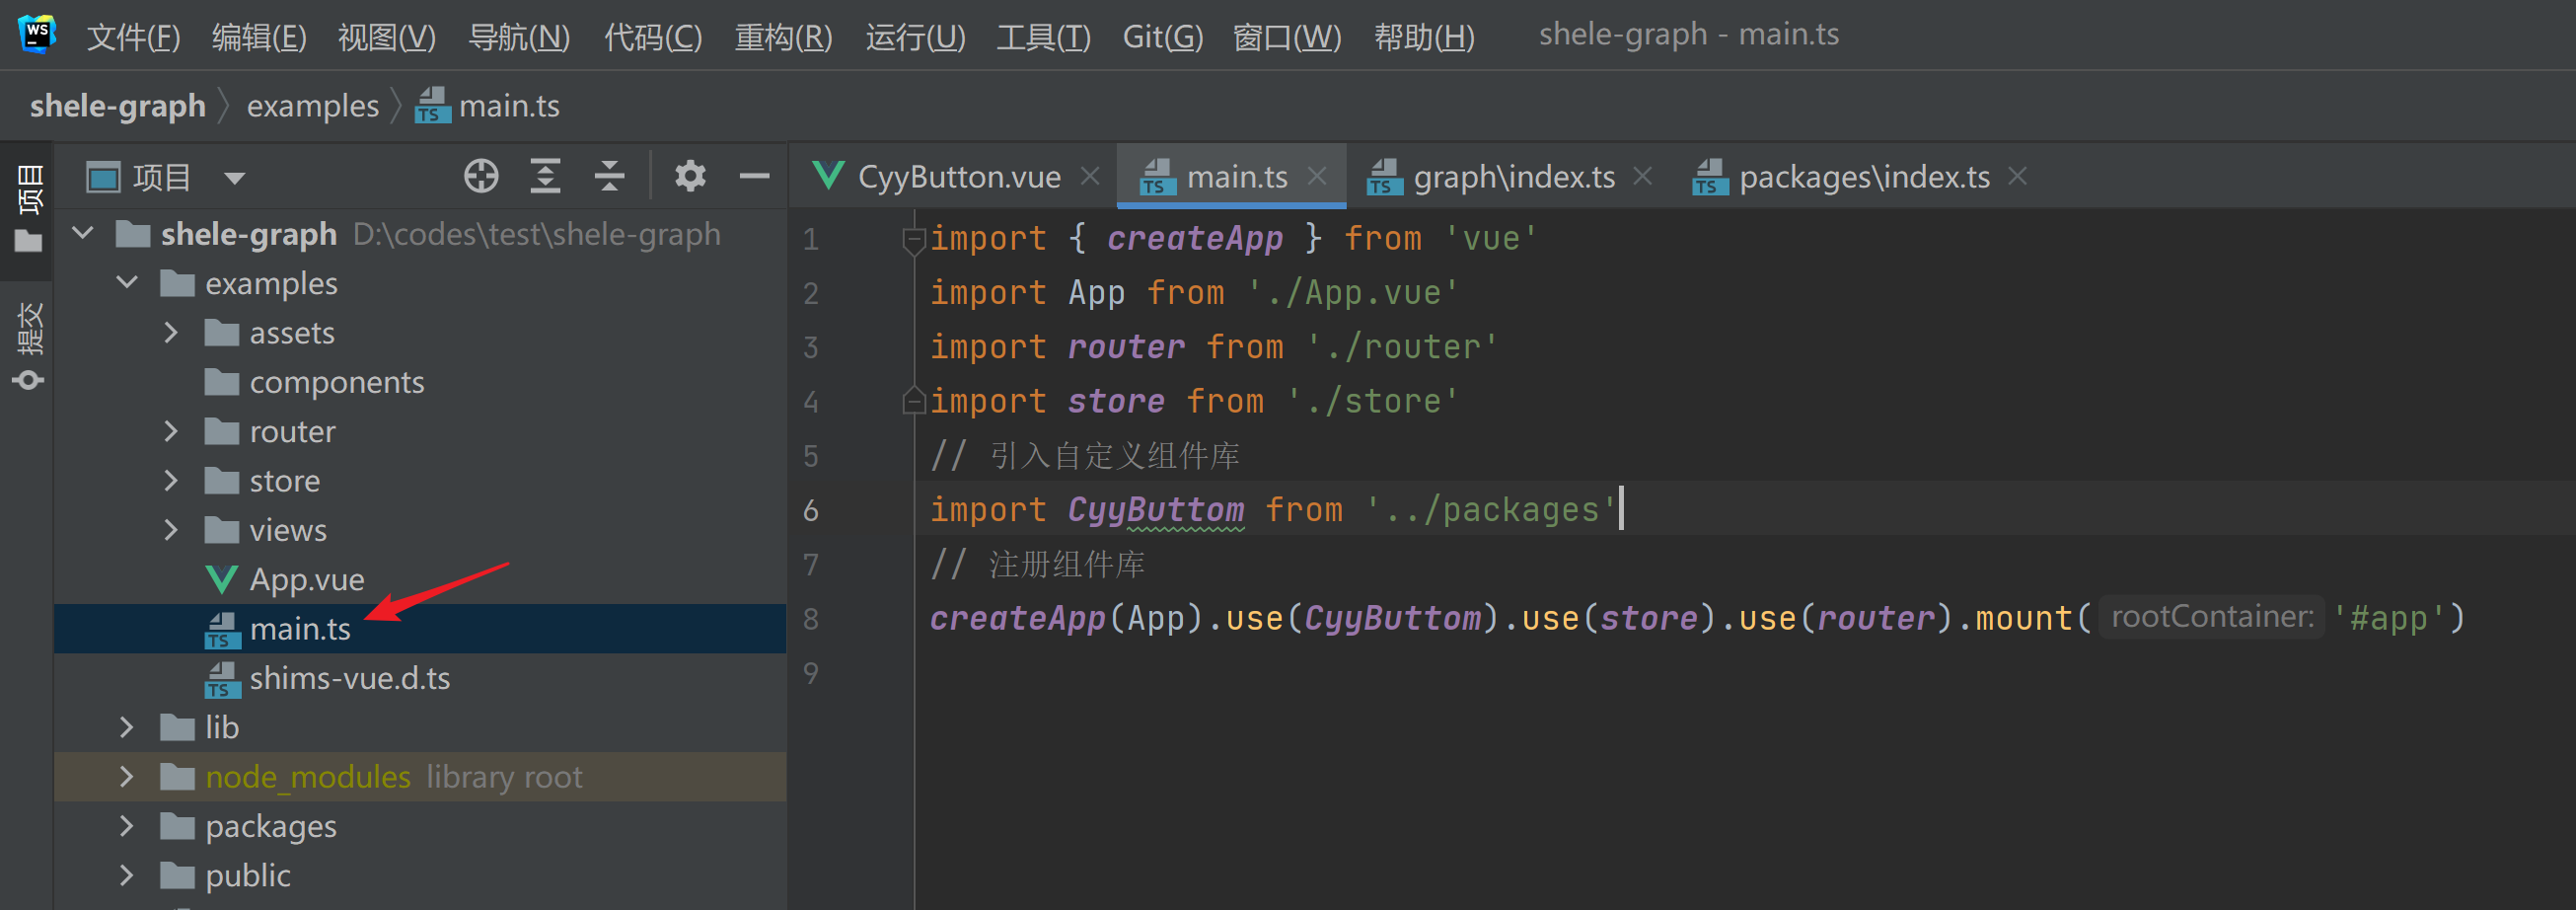
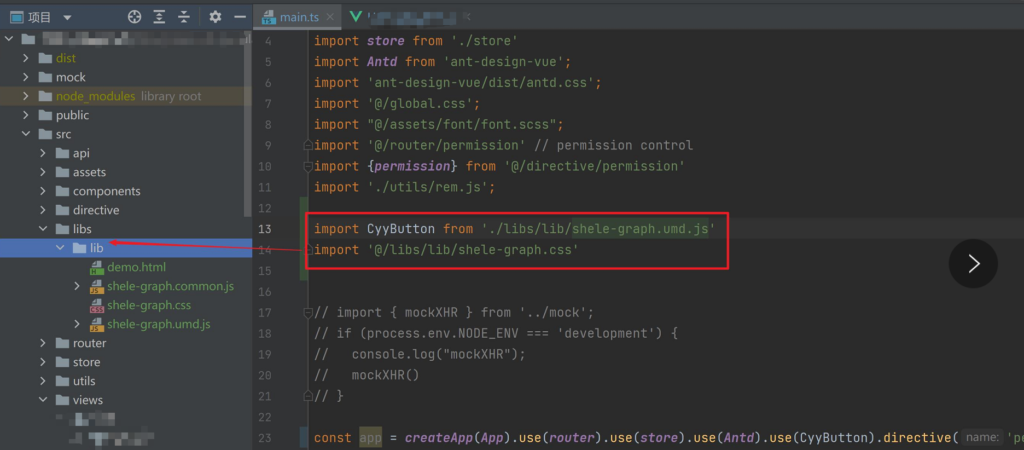
6.组件测试
在 examples 下面测试一下,看看能不能引用成功。 首先在 examples 下的 main.js 中引入刚刚写好的包,就像下面这样:
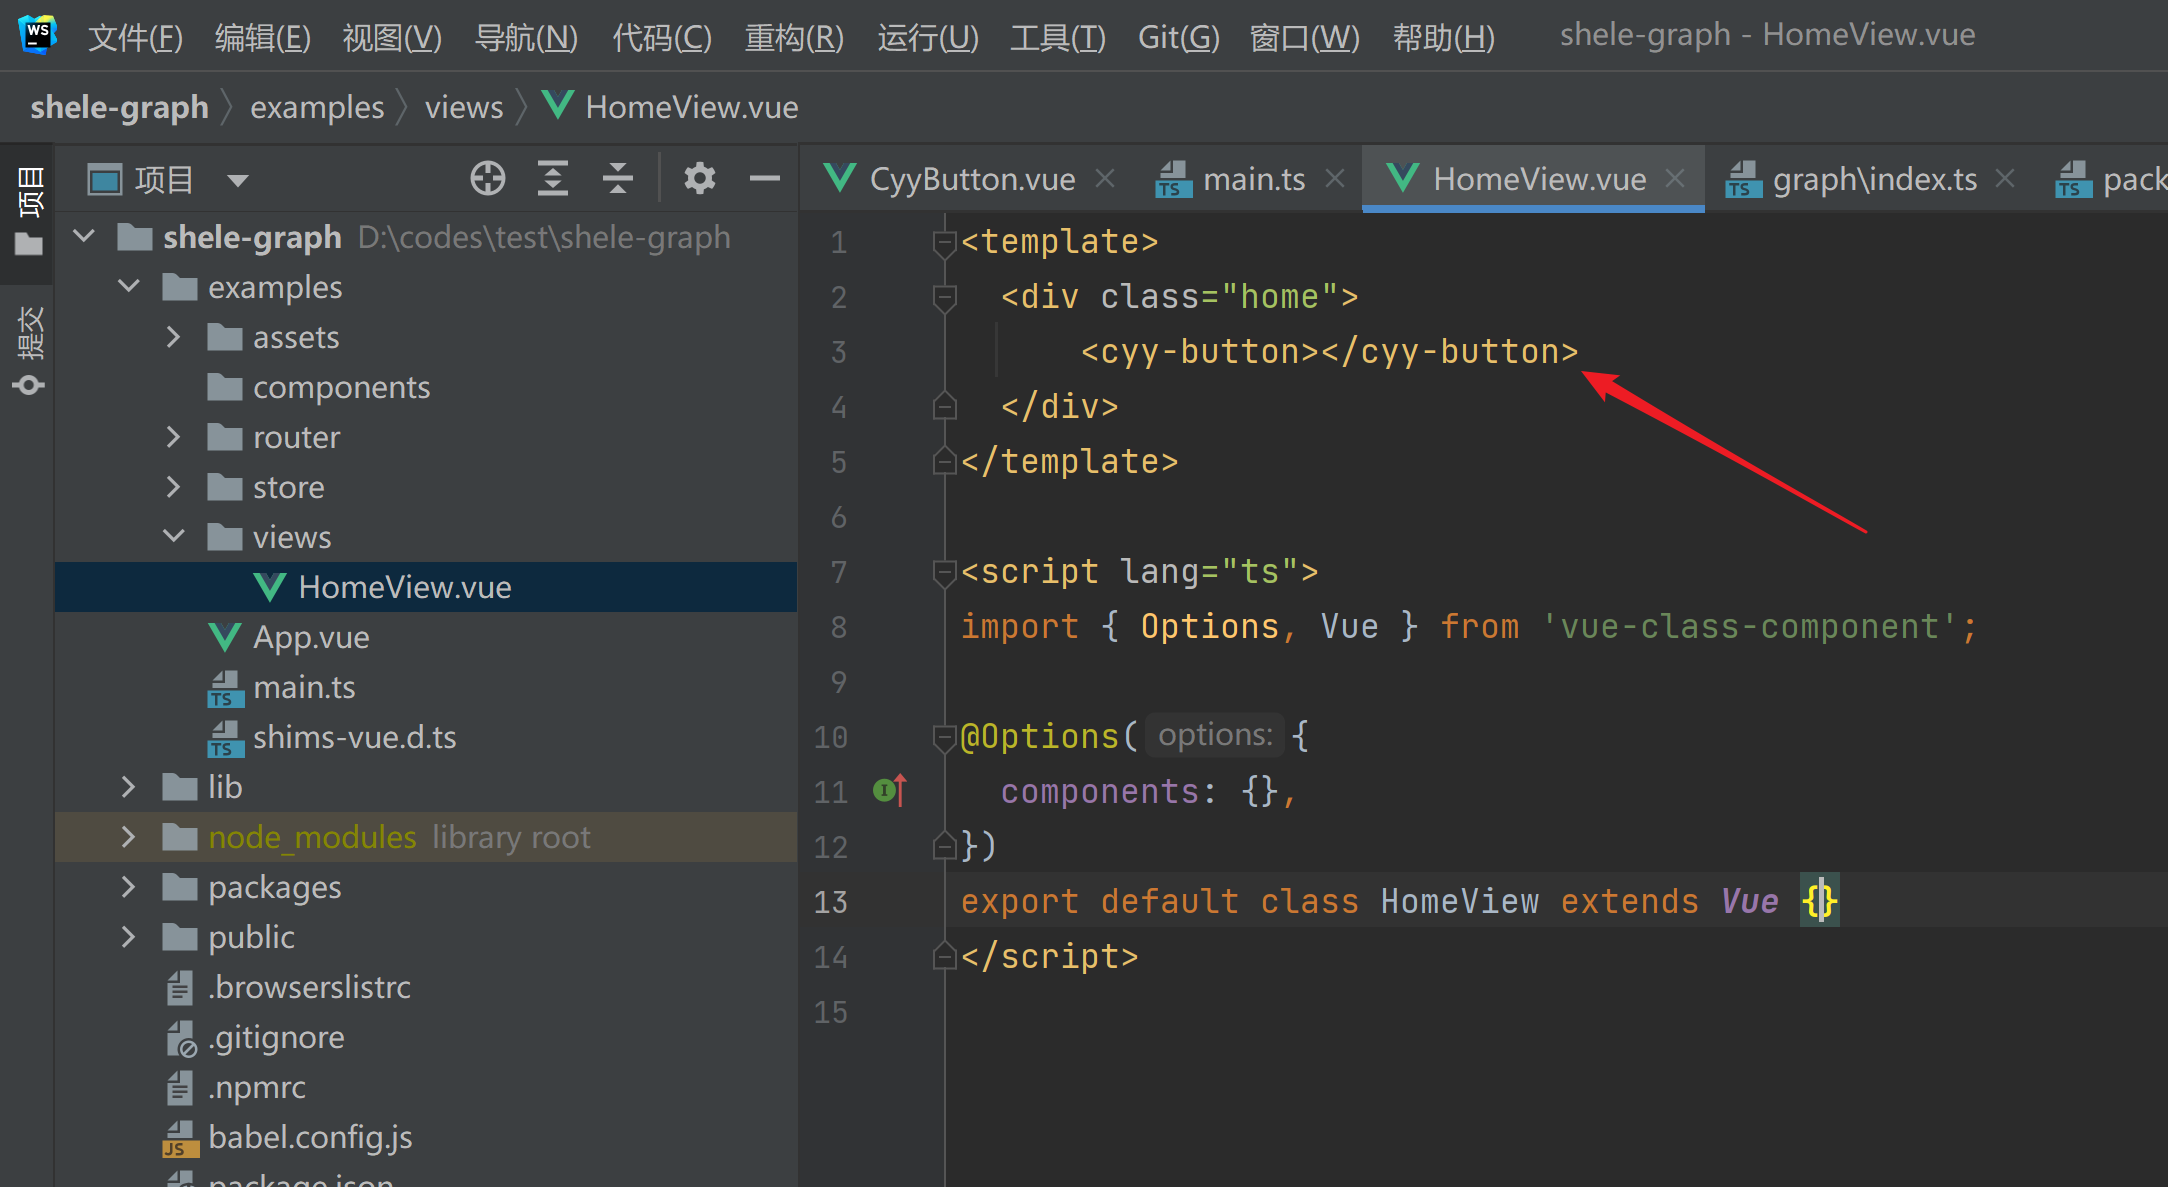
然后把 examples/views 下面的 HomeView.vue 里面的内容删了,写入自己标签组件,就像下面这样
最后效果
7.打包组件库
在 vue-cli3 中我们通过以下命令可以将一个单独的入口打包成一个库:
// target: 默认为构建应用,改为 lib 即可启用构建库模式
// name: 输出文件名
// dest: 输出目录,默认为 dist,这里我们改为 lib
// entry: 入口文件路径
vue-cli-service build --target lib --name lib [entry]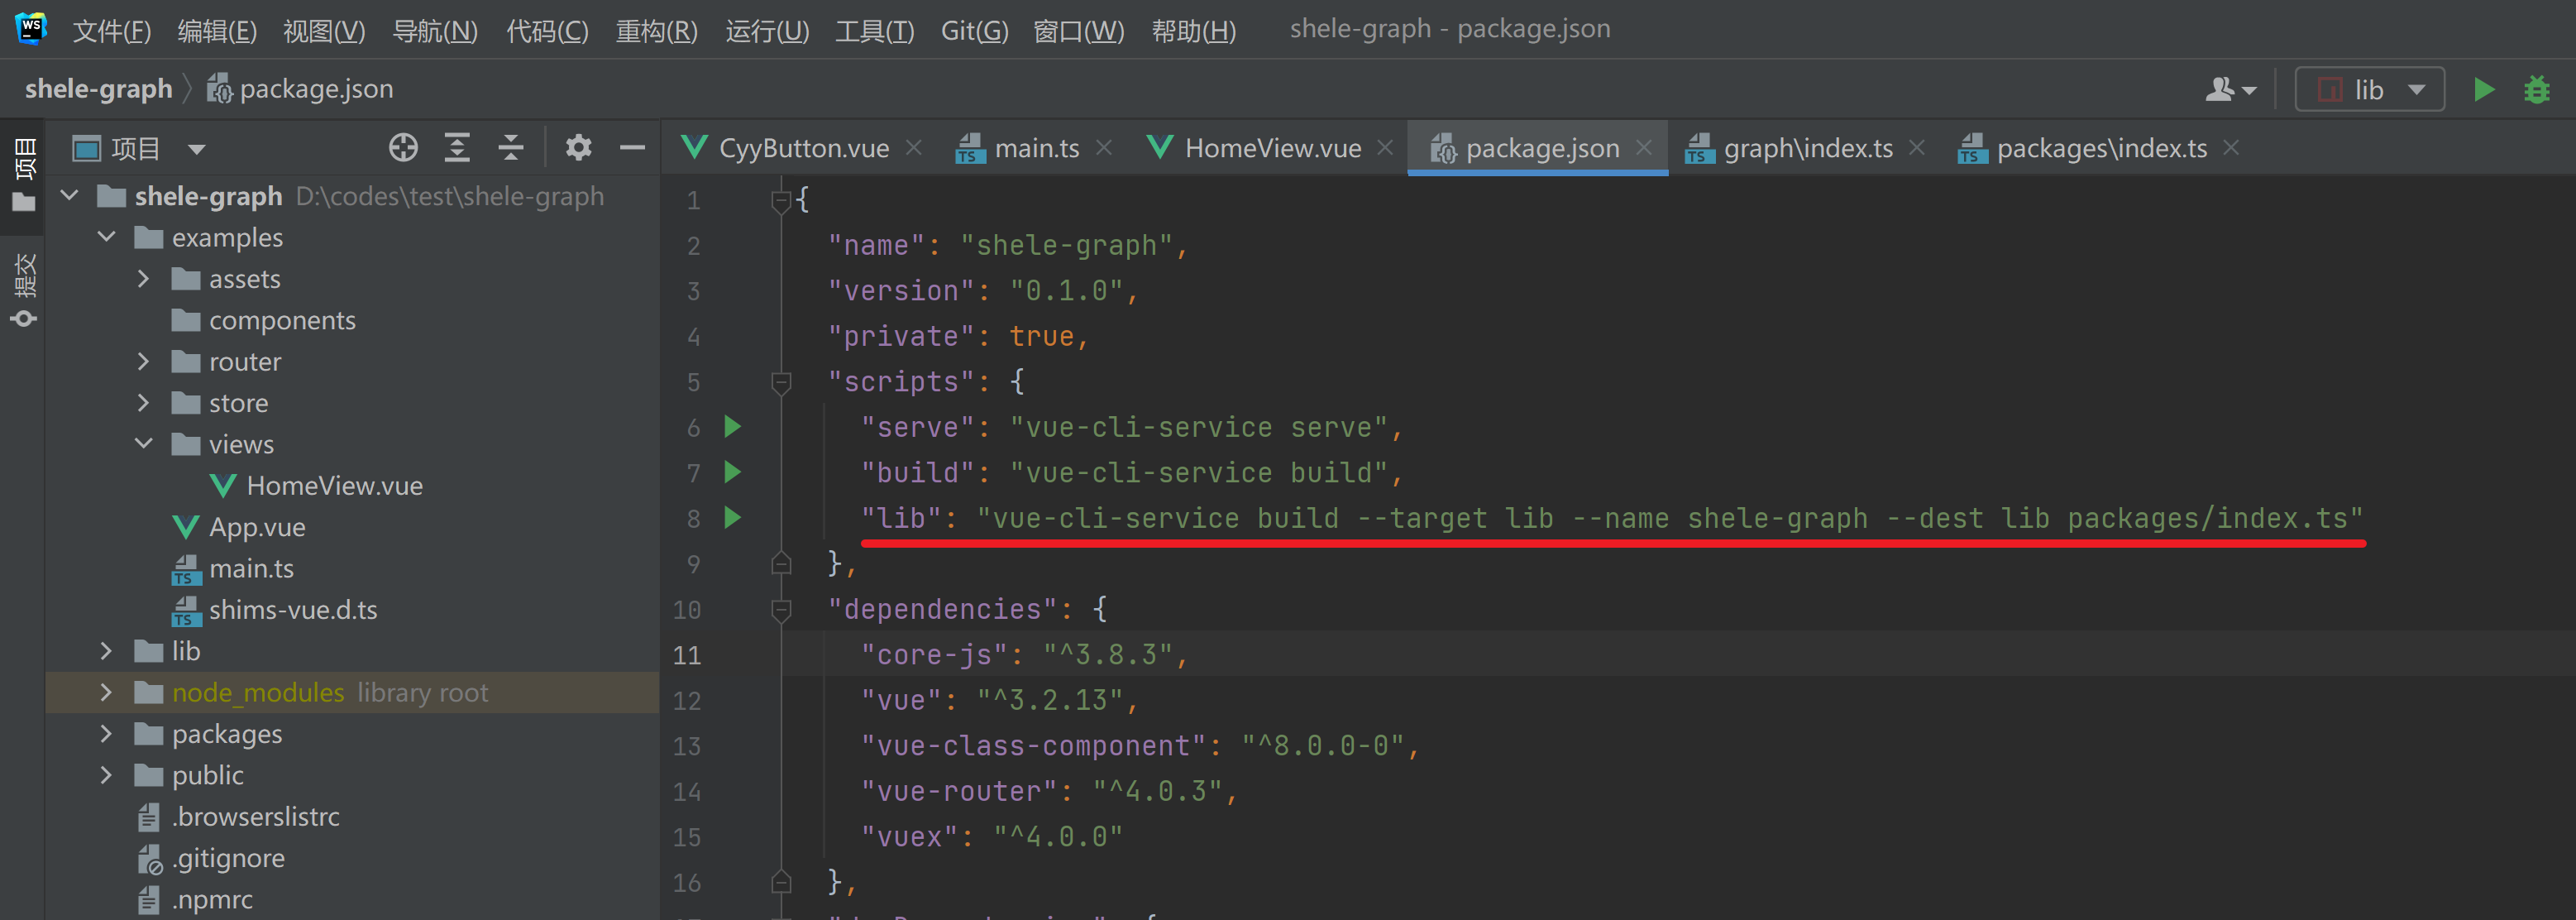
接着执行 npm run lib 就能生成库啦,看看左侧的目录是不是多了个 lib 文件夹,那个就是我们要发布的东西。
项目中引入:复制lib包到需要引用的项目中即可。
匿名
says:大佬,请指教
匿名
says:大佬,我评论怎么没了